How to Connect
After your Internet has been activated, you can connect your devices using the options below:
Connecting to the Internet can be done in a few ways
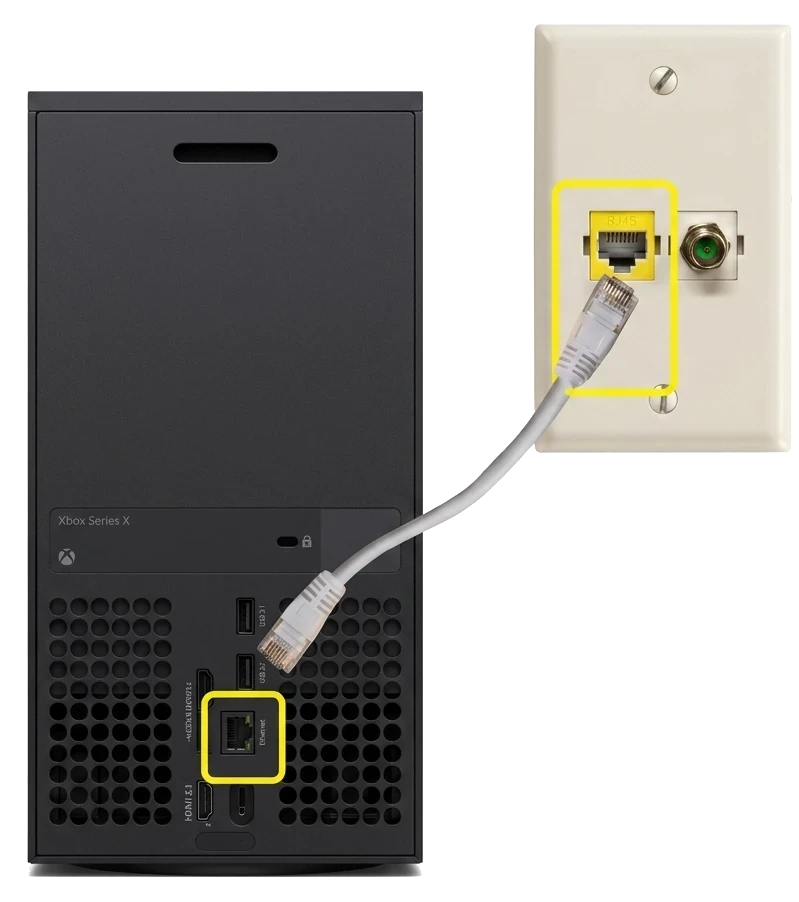
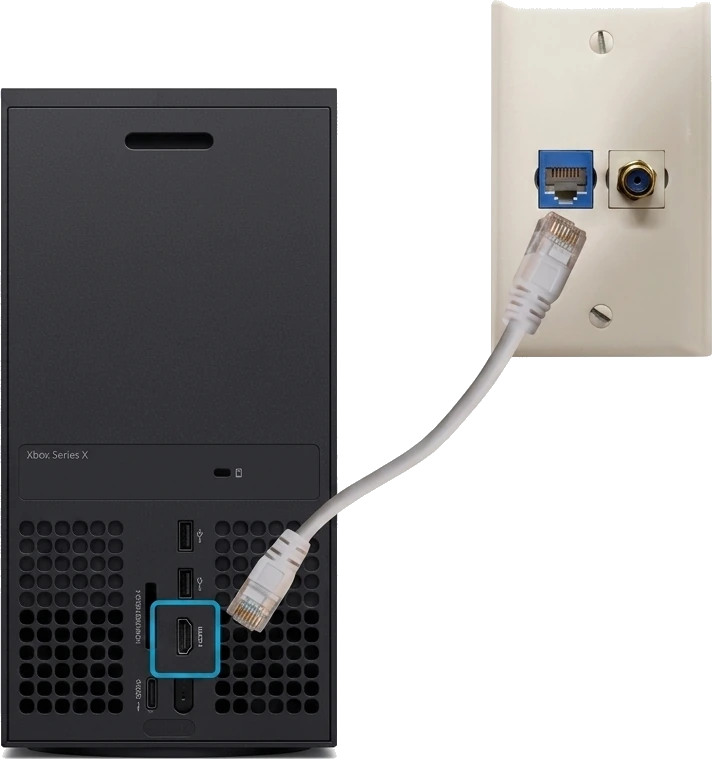
Wall Ethernet Port (Blue)
Connect device directly
(For Fastest Speeds)- Plug in one end of an Ethernet cable into the Ethernet port on the wall.
- Plug the other end of the Ethernet cable into the Ethernet port on your device.
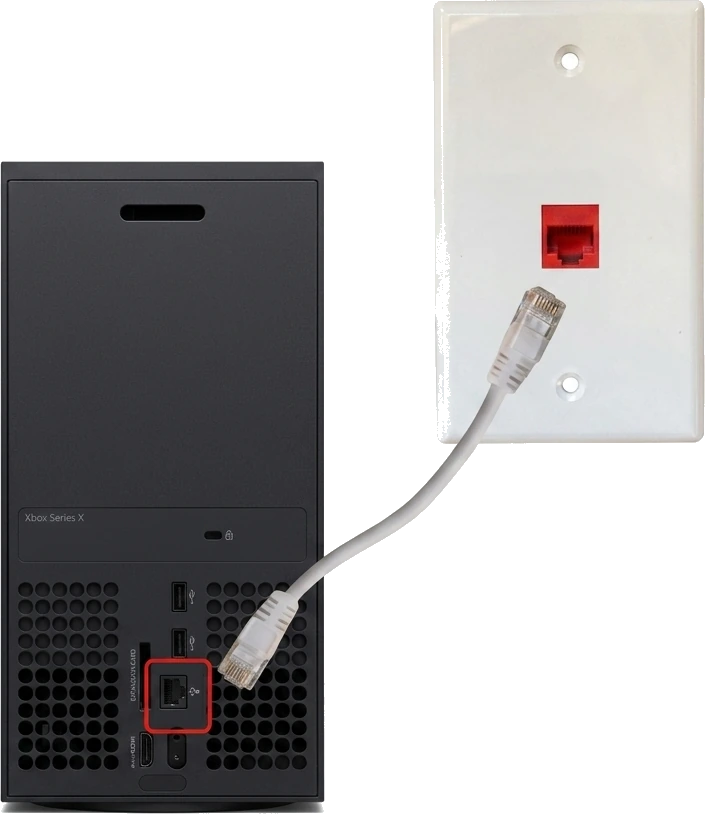
Wall Ethernet Port (Red)
Connect device directly
(For Fastest Speeds)- Plug in one end of an Ethernet cable into the red multi-gig Ethernet port on the wall.
- Plug the other end of the Ethernet cable into the Ethernet port on your device.
Nokia Gateway
Connect device directly
(For Fastest Speeds)- There will be a device on your living room wall as pictured. Plug one end of an Ethernet cable into the Ethernet port attached to it.
- Plug the other end of the Ethernet cable into the Ethernet port on your device.
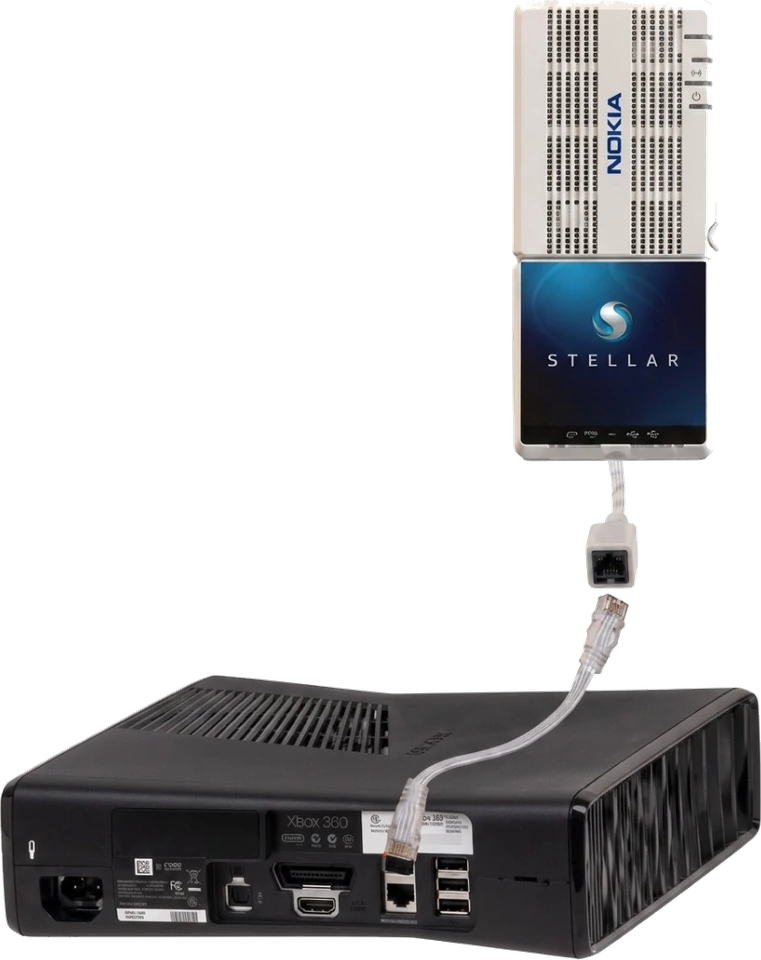
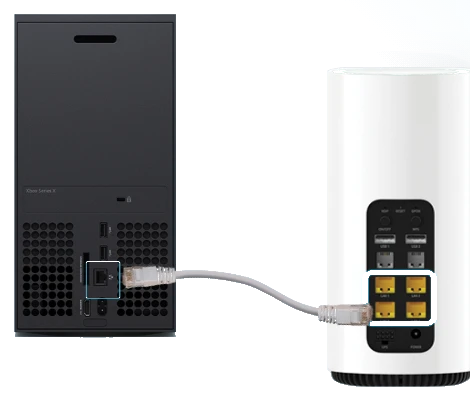
Nokia Wi-Fi Gateway
Connect device directly
(For Fastest Speeds)- Plug in one end of an Ethernet cable into the LAN port of the pre-installed Wi-Fi Gateway or Ethernet wall port.
- Plug the other end of the Ethernet cable into the Ethernet port on your device.
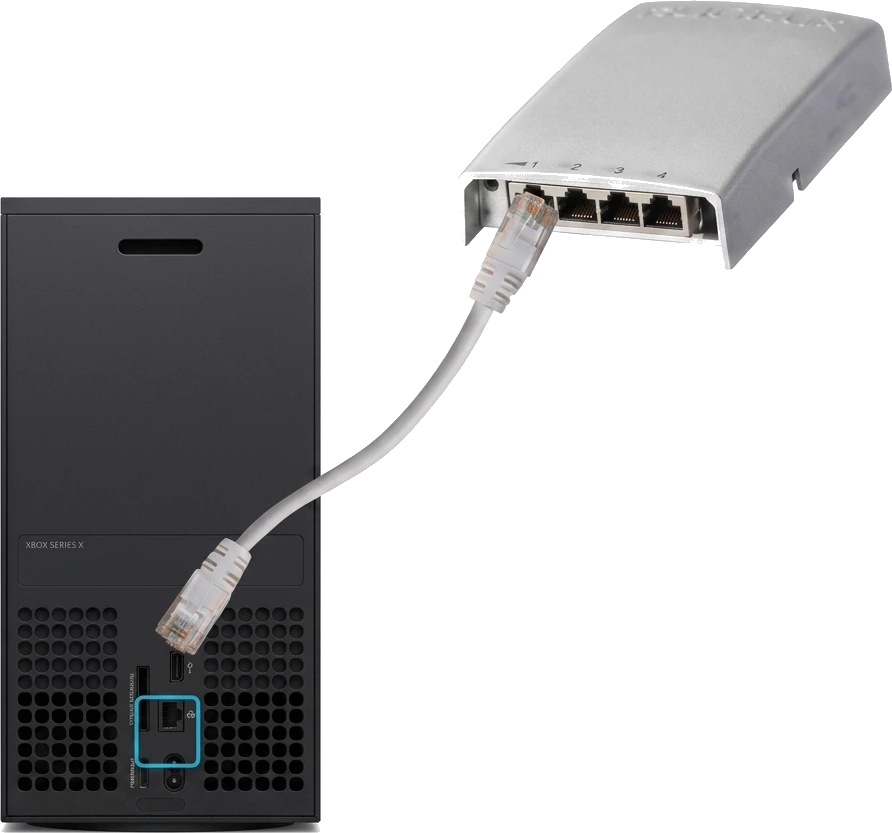
Access Point
Connect device directly
(For Fastest Speeds)- Plug in one end of an Ethernet cable into the Ethernet port on the wall. The Access Point will be at the height of the outlet.
- Plug the other end of the Ethernet cable into the Ethernet port on your device.
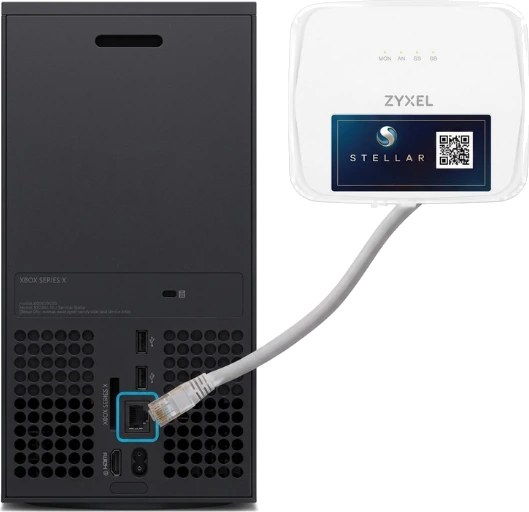
Zyxel ONT
Connect device directly
(For Fastest Speeds)- Plug in one end of an Ethernet cable into the Ethernet port on the wall.
- Plug the other end of the Ethernet cable into the Ethernet port on your device.
Connecting Through Your Wi-Fi Router
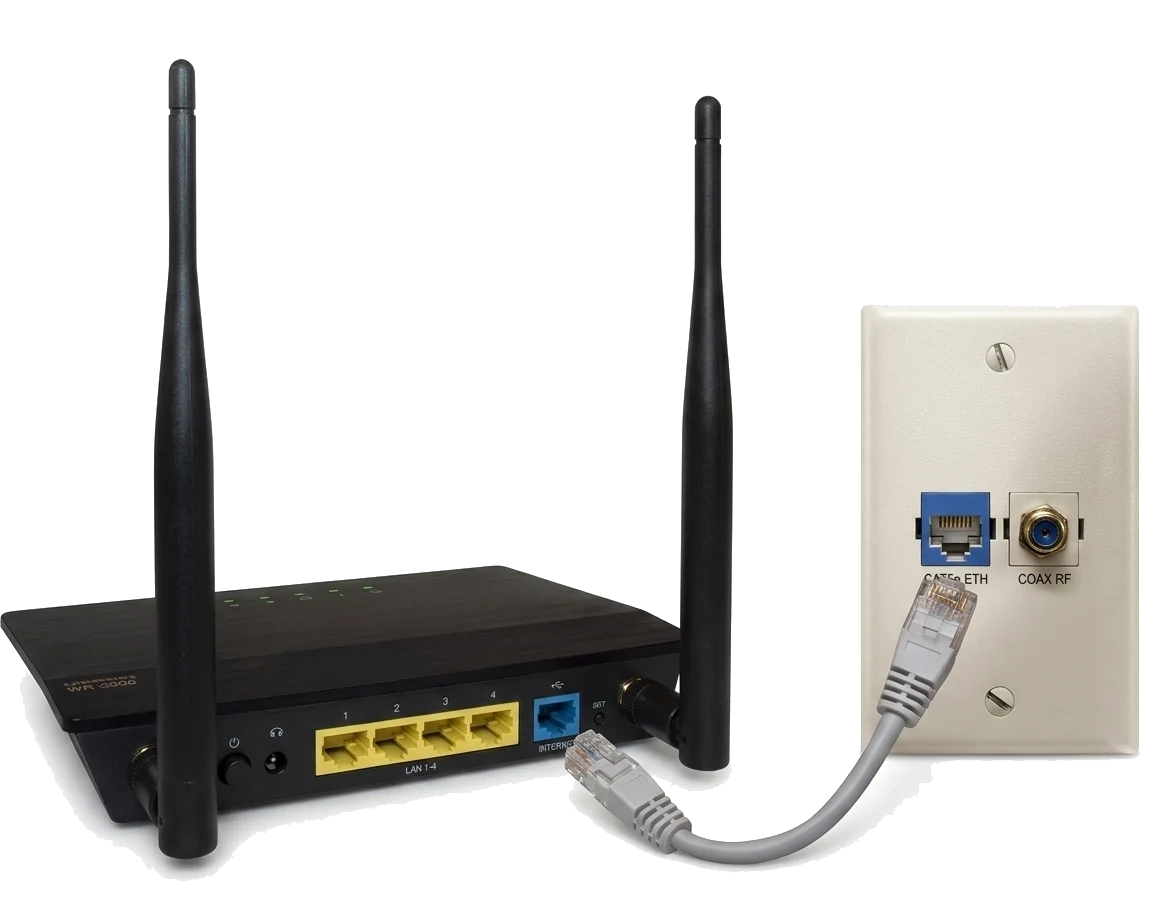
Wi-Fi Router Direct Connection
Connect your Wi-Fi Router
- Plug in one end of your Ethernet cable into the Ethernet port on the wall.
- Plug the other end of the Ethernet cable into the Internet/WAN port on your Wi-Fi router.
- Follow the instructions that came with your router to complete setup.
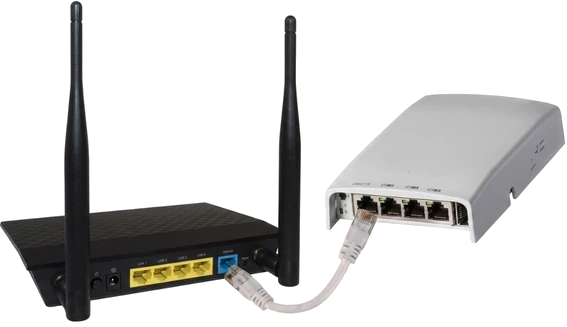
Access Point Wi-Fi Router
Connect your Wi-Fi Router
- Plug in one end of your Ethernet cable into the Ethernet port on the wall.
- Plug the other end of the Ethernet cable into the Internet/WAN port on your Wi-Fi router.
- Follow the instructions that came with your router to complete setup.
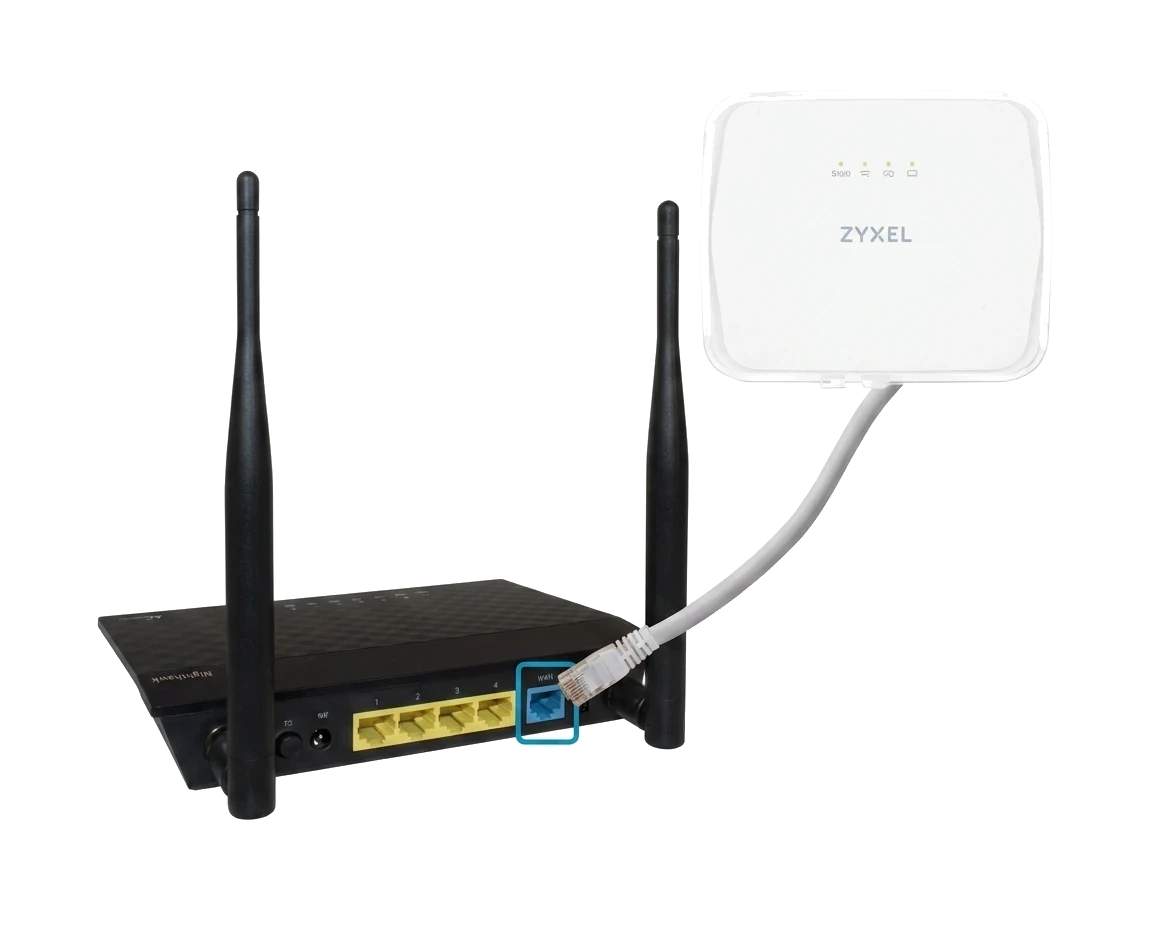
Zyxel Wi-Fi Router
Connect your Wi-Fi Router
- Plug in one end of your Ethernet cable into the Ethernet port on the wall.
- Plug the other end of the Ethernet cable into the Internet/WAN port on your Wi-Fi router.
- Follow the instructions that came with your router to complete setup.
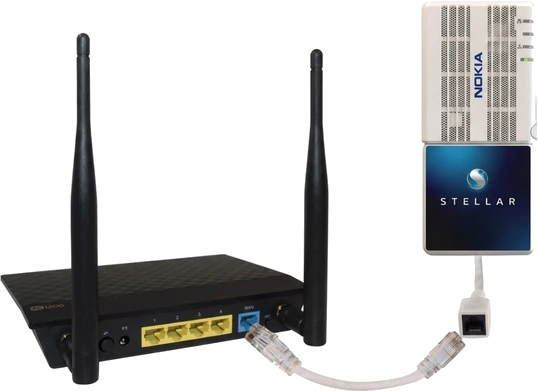
Nokia Gateway Wi-Fi Router
Connect your Wi-Fi Router
- There will be a device on your living room wall as pictured. Plug one end of an Ethernet cable into the Ethernet port attached to it.
- Plug the other end of the Ethernet cable into the Internet/WAN port on your Wi-Fi router.
- Follow the instructions that came with your router to complete setup.
Connecting to Community Wi-Fi
Once you've completed your subscription and received confirmation that your service is active, you're ready to connect your devices.
Choose the correct network for your device.
-
Computers, Phones & Tablets
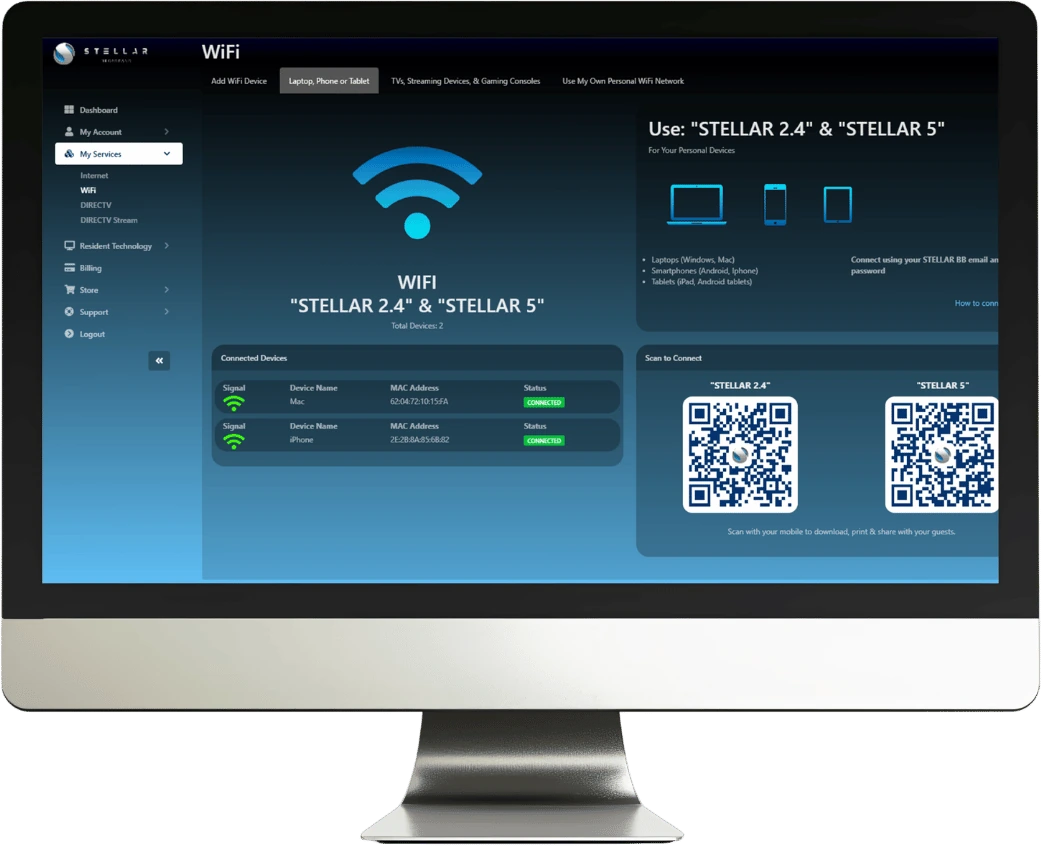
- Connect to "STELLAR 2.4" or "STELLAR 5.0" using the email address and password associated with your STELLAR account.
-
Smart TVs, Streaming Devices & Other Registered Devices
Some devices must be registered before they can connect to Wi-Fi. This includes devices such as Smart TVs, Roku, Apple TV, Google Chromecast, Amazon Fire TV Stick, gaming consoles, printers, Kindle devices, and other streaming or smart home devices.
- To register your device, log in to your STELLAR MyAccount portal, select My Services > WiFi, and follow the on-screen prompts. Once your device has been registered, connect it to the "STELLAR Registered Devices" network.
Need help finding your device's MAC/Wi-Fi Address? See How to Find Your MAC Address.
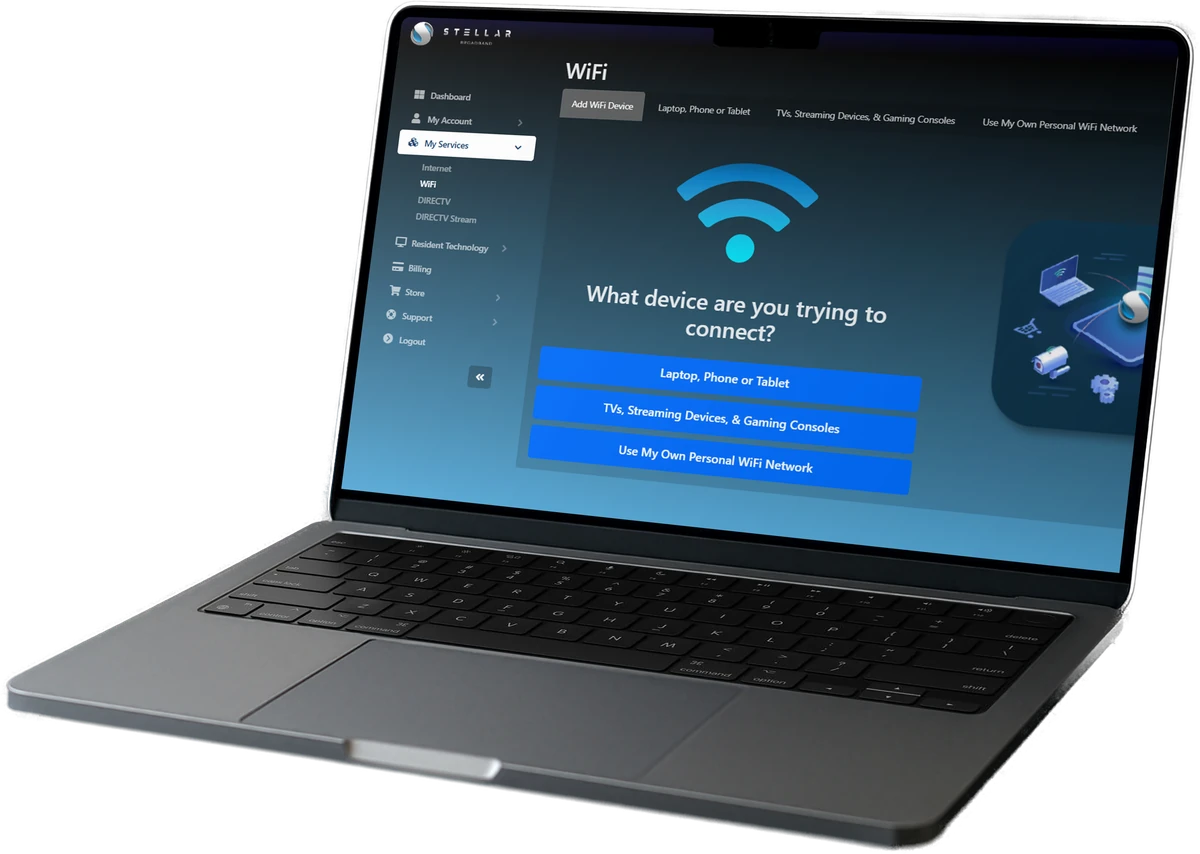
Community WiFi made easy with STELLAR!
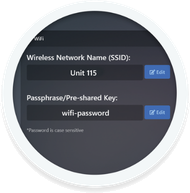
Connecting to a Unique SSID
Connect to your Wi-Fi
Once services are active, a unique SSID and password will be created specific to your unit.
- Go to your My Account at MyAccount.StellarBB.com to view them. In the left navigation bar, click My Services > WiFi.
- The SSID and password can be changed on your My Account in the Wi-Fi section. You will have to wait a few minutes before changes are applied.
Connecting through a Cross Connect panel
Multi-Colored Panel
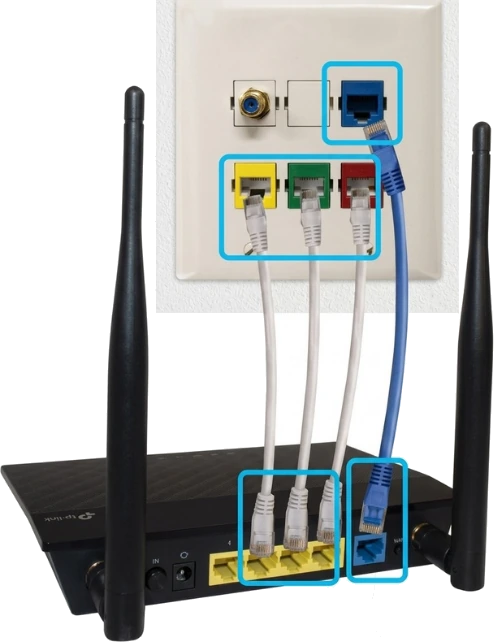
What you'll need: 1–10 Ethernet cables (depending on how many rooms you want direct connection to, i.e. a personal Wi-Fi router and/or devices with Ethernet ports). First, locate your multi-colored panel, which is typically in the living room, hall closet, or utility closet. Each color on the wall plate represents a different room in the apartment, except the blue port which is the active Internet port.
To Connect your Wi-Fi Router
- Plug in one end of an Ethernet cable into your wall plate (this is your active Internet port and is generally blue).
- Plug the other end of the Ethernet cable into the Internet/WAN port on your Wi-Fi router.
To Activate Individual Room Outlets (for connecting devices directly)
- Follow steps 1 and 2 listed above to connect your router. Plug one end of a second Ethernet cable into the port on your multi-colored panel that belongs to the room you want to activate.
- Plug the other end of that Ethernet cable into one of the other ports on your Wi-Fi router.
- In the room you just activated, plug one end of a third Ethernet cable into the color-coded port on the wall plate.
- Plug the other end of that Ethernet cable into your desired device (laptop, gaming console, etc.).
- Repeat steps 3–6 for each room you want active.